What is a cPanel?
A cPanel is a Linux-based user-friendly web hosting that works through a Graphical user interface(GUI). Web hosts provide it to make it easy for their users to manage their web hosting accounts. The main advantage of the cPanel is, It that it is easy to maintain as the site owners can manage their WordPress websites, email accounts, domain names, database connection, etc.
What is WHM?
WHM – Web Host Manager is a tool. Using managed hosting faster loading, are automatically updated, have daily backups facility, and have the support of WordPress experts. Any server-level changes require administrator login.
With that, we can manage operations including upgrading Apache, Php, and installing Perl modules.
To login and Setup WordPress Website on AWS EC2 using CentOS 7 Please click on the link. After a successful login and setup of WordPress on AWS EC2 using CentOS 7, we have to set up cPanel for file uploading, database modifications, and other settings.
Steps to configure cPanel – WHM on AWS EC2 Instance with CentOS 7
Go to “PuttyGen”. Click here to download.

Goto “PuttyGen” -> Load Button
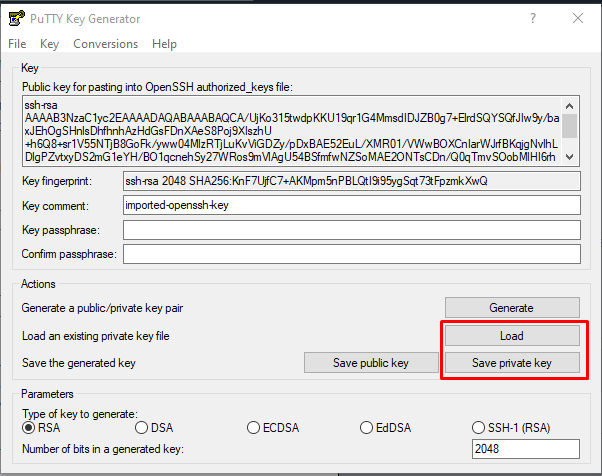
Then Click on Save Private Key (.ppk).
Windows key ->And goto “Putty” open that.
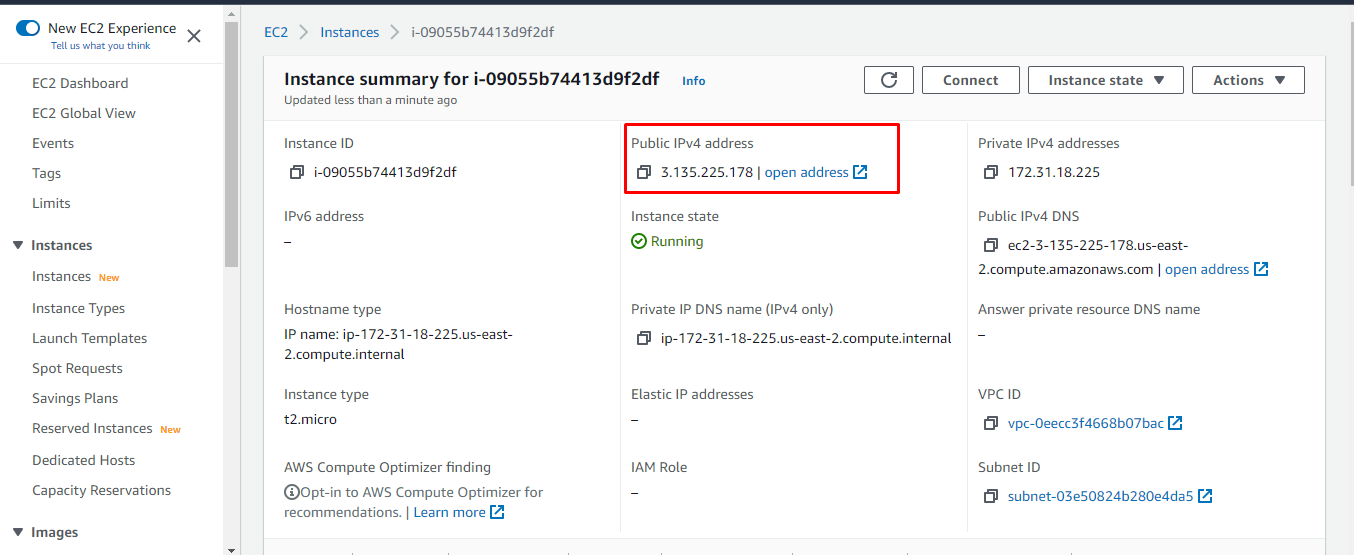
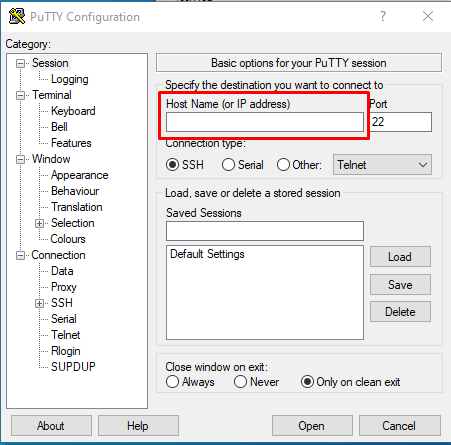
Copy Public IP Address and Paste in Putty.
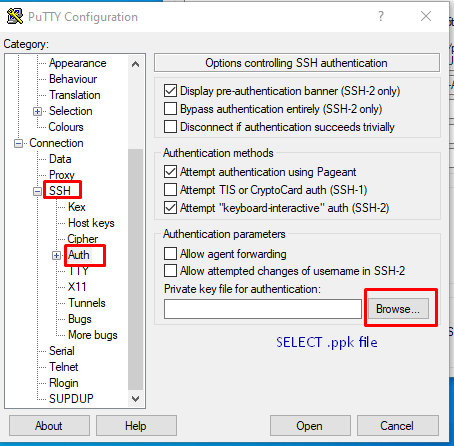
Go to SSH -> Auth -> Browse -> Upload .ppk file. (Which previously Download)
Then click on Open. After Command Prompt Successfully open.
In command Prompt. Write below codes step by step.
-
- centos and Press Enter.
- sudo password and Press Enter. Enter New Password, Retype Password. (That Password is useful for cPanel Login)
- su root and Press Enter. Enter Added Password for confirmation.
- yum install wget and Press Enter. Press -> Y. Press -> Y.
- Add, yum install perl and Press Enter. Press -> Y.
- Write, yum install nano and Press Enter. Press -> Y.
- hostnamectl set-hostname ns1.devewtest.com and Press Enter.
- curl -o latest -L https://securedownloads.cpanel.net/latest && sh latest and Press Enter.
After It’s Loading 2 to 3 Minutes. - Go to AWS Instance > Copy Public IP Address and: Custom IP address Which we added. E.g. 3.135.225.178:2087 and give it some time to process.
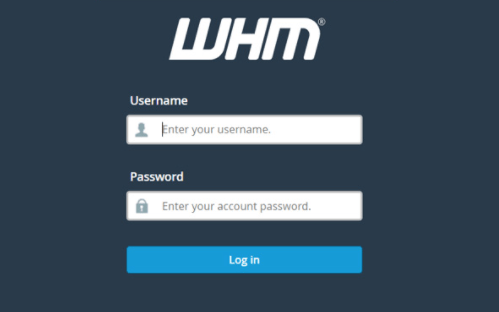
- Enter your username (root) and Password which you set previously.
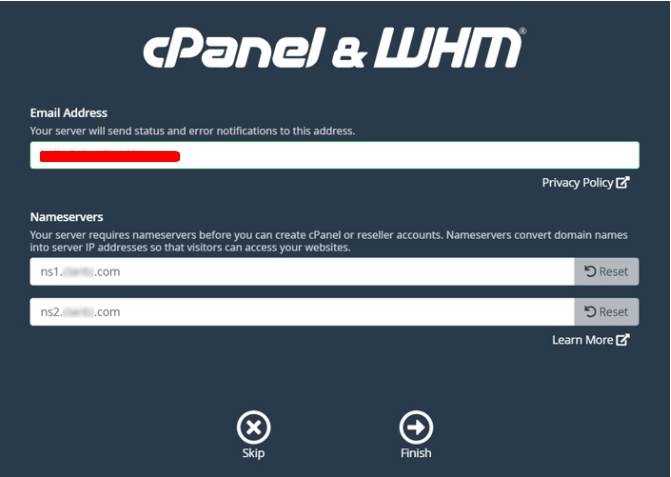
- If you do not have an account, create one there and log into the cPanel store. Activate the trial license. and provide email addresses and namespaces.
- After this, you will be taken to the WHM home page.
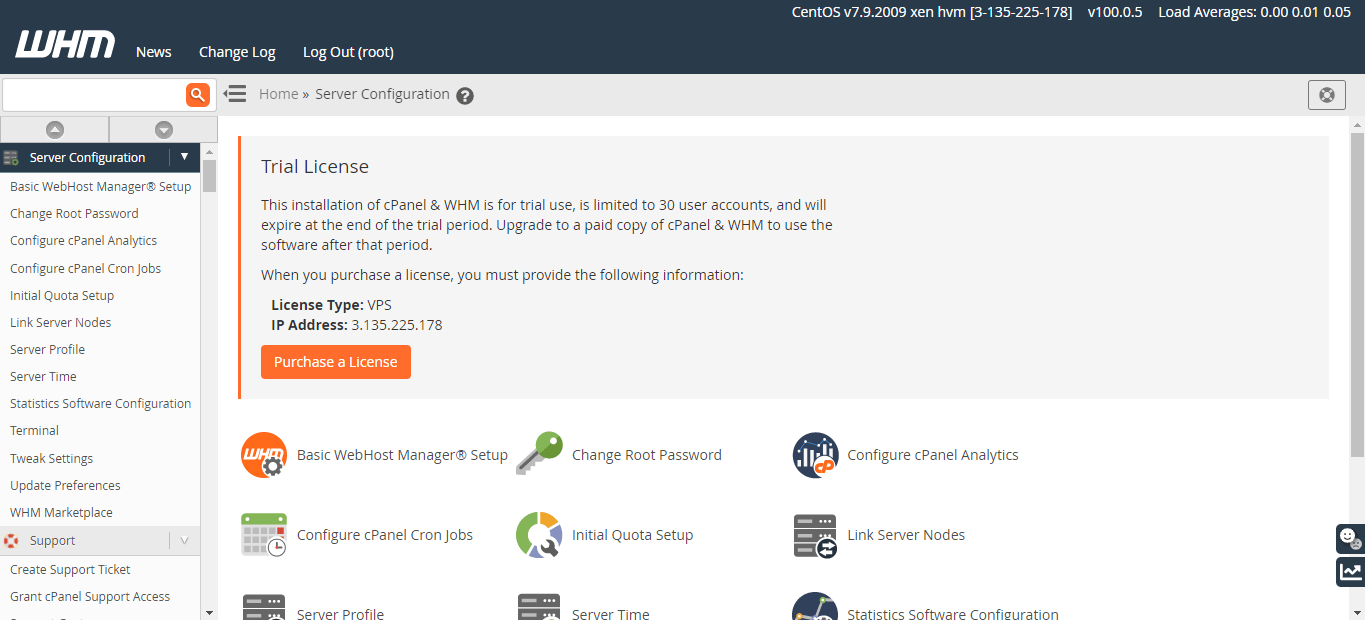
- After a successful login to WHM you will see that the file system quotes are currently disabled. Click on Enable.
- Go to Menu -> Search Reboot -> Choose Graceful Server Reboot. Click on Proceed.
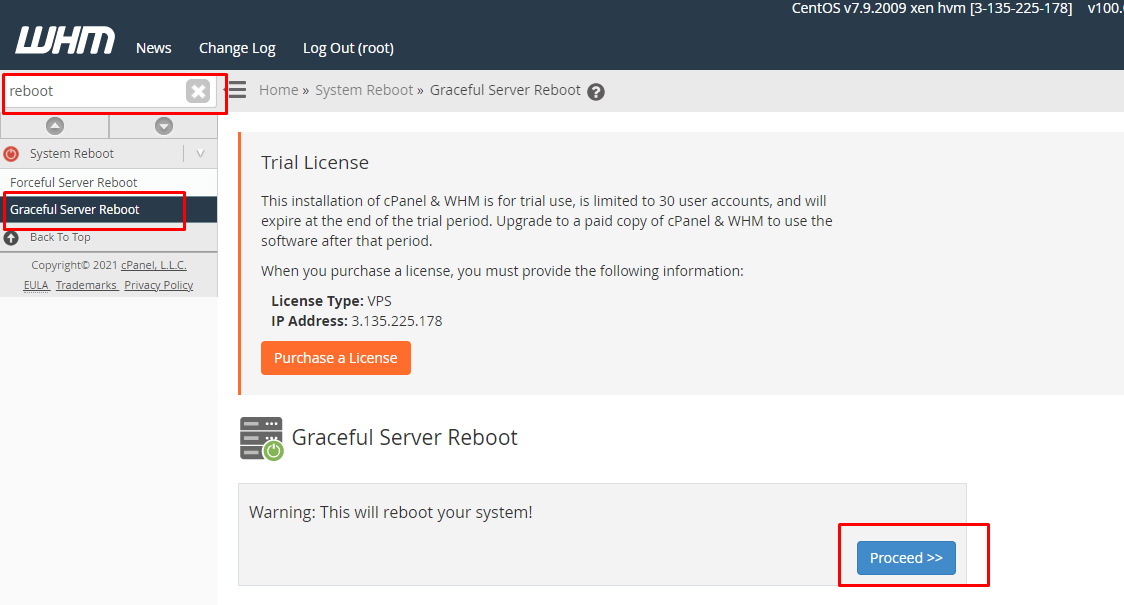
- After some time, In New Tab -> Copy Public IP Address and: Custom IP address Which we added. E.g. 3.135.225.178:2087
- If it doesn’t work, go to AWS instance -> View Particular Instance -> Stop Instance and Reboot Instance.
You can then try going to a New Tab -> Copy Public IP Address and: Custom IP address Which we added. E.g. 3.135.225.178:2087 - After Login in WHM -> Here you can see the cPanel. Create an Account And then access cPanel.
If you have completely followed the article, you should be able to successfully setup cPanel WHM in AWS EC2 using CentOS 7. Go ahead and start uploading the files and start managing the databases.
Also Read: Gmail SMTP server for your WordPress site
Thank you for exploring our blog. We trust that you’ve discovered valuable insights into our innovative processes. Erudite Works Pvt. Ltd. stands out as a premier IT outsourcing services provider, prioritizing excellence in results. Our dedicated team of experts is committed to understanding each client’s unique needs, enabling us to deliver customized solutions for substantial business growth. With a proven track record of successful projects, we are steadfast in supporting clients to achieve their goals and stay competitive in the ever-changing digital landscape. To delve deeper into our services, feel free to reach out to us. Contact Us.




0 Comments